To transfer your DNS records from the FreeDNS portal to the new Free DNS Hosting, follow the instructions below. Make changes to your domain only if it uses the name servers free-ns1.zabec.net and free-ns2.zabec.net.
- Log in to your Moj Žabec profile at https://moj.zabec.net
- On the start page, at the bottom right, you will find the option to activate Free DNS Hosting. Select the subscriber of the domain and click Confirm

- After you confirm, the selected subscriber's e-mail address will receive the login details for Free DNS Hosting (DirectAdmin control panel).

- Log in to your FreeDNS account at http://freedns.zabec.net

- The DNS records for your domain will open. These records need to be transferred to Free DNS Hosting (your panel may contain more records than the example below).

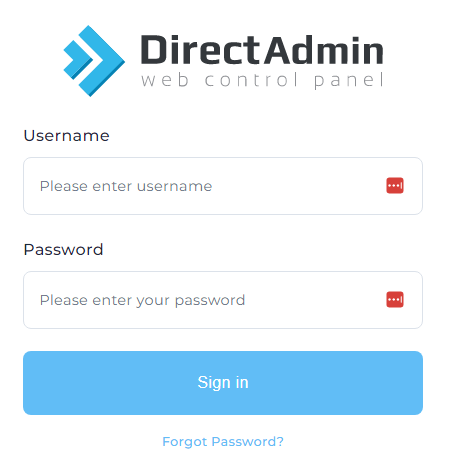
- Leave the tab with the DNS records open, open a new tab, and go to the control panel at https://ajda.zabec.net:4444. Log in with the details you received by e-mail (step 3 of these instructions).
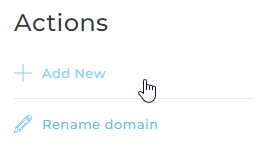
- Add your domain to the control panel. Under Account Manager select Domain Setup

- New options will appear below. On the right, click the ADD NEW button
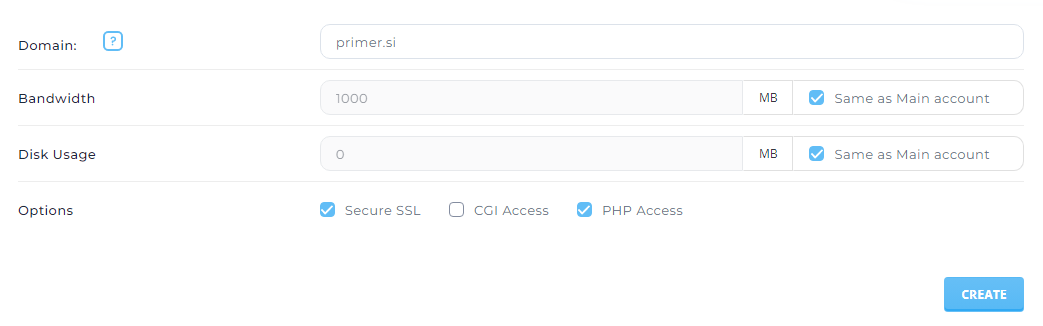
- Enter your domain. It will be added successfully once you click CREATE at the bottom
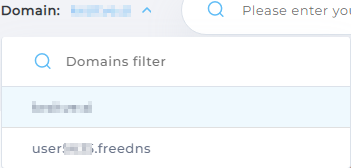
- At the top right, select your newly added domain from the drop-down list (by default set to user××××.freedns)
- This time, under Account Manager, select DNS Management
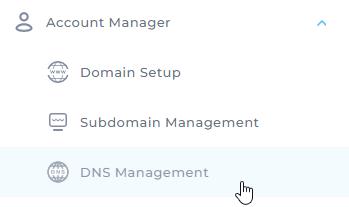
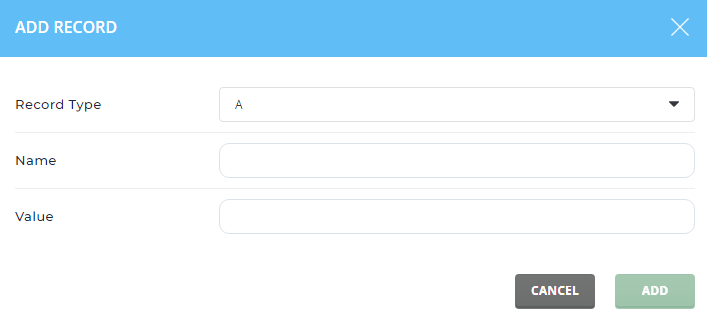
- The current records will open. Click ADD RECORD to add new individual records

- Add the records from freedns.zabec.net. Go back to the FreeDNS hosting tab and copy them from there (step 5 of these instructions)
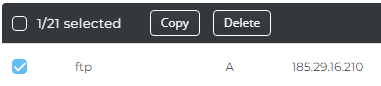
- Once you have entered all the records, delete any duplicates (for example, there must not be two A records for primer.com that each point to a different IP address). To delete a record, tick its checkbox and click Delete
- Log in to Moj Žabec again and change the name servers of your domain to srv-ns23.zabec.net and srv-ns24.zabec.net (click your domain, then Edit domain at the bottom to reach the option shown below, and confirm after entering the new values). The DNS change is described in more detail here: https://support.humanfrog.com/en/baza-znanja/article/kje-nastavim-dns-imenske-streznike

You have successfully transferred your records. All that remains is to wait for the records to refresh, which can take up to 24 hours.
